> For the complete documentation index, see [llms.txt](https://docs.iadvize.dev/llms.txt). Markdown versions of documentation pages are available by appending `.md` to page URLs; this page is available as [Markdown](https://docs.iadvize.dev/apps/build-your-app/app-parameters.md).
# App Parameters
By adding parameters to the installation process, the client has the possibility to configure your connector.
You can request two kinds of parameters:
* sensitive parameters such as API keys, emails... it must be declared under the [Authentication parameter step](https://docs.iadvize.dev/apps/build-your-app/app-parameters#id-1.-define-authentication-parameters)
* regular parameters such as texts, boolean it must be declared under the [App parameter step](https://docs.iadvize.dev/apps/build-your-app/app-parameters#id-2.-define-app-settings-parameters)
A connector parameter has 4 to 5 properties:
* Key: the key of your parameter according to your code.
* Label: the name of your parameter, this is what users will see in the marketplace during the installation process
* Type: it defines the type of entry. (For instance: text)
* URL: only required for type "selectpicker". To dynamically retrieve options from the given url
* Required: specify if the parameter is required for your connector
Currently, we support 3 types of parameters:
* **Text,** for textual input values
* **Toggle,** for enabling/disabling a part of the parameters. It is useful if you want to allow your clients to enable / disable specific features of your connector
* **Selectpicker,** for dynamically loaded options from the configured URL
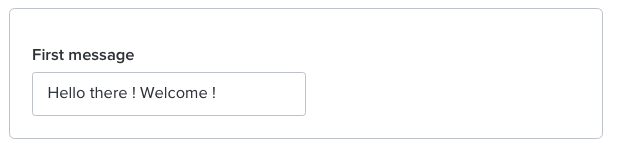
#### **Text parameter**
Usage in the dev platform

Result in the marketplace
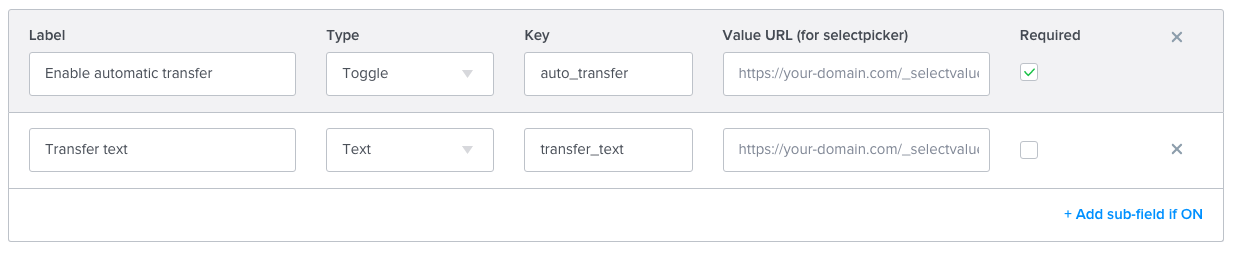
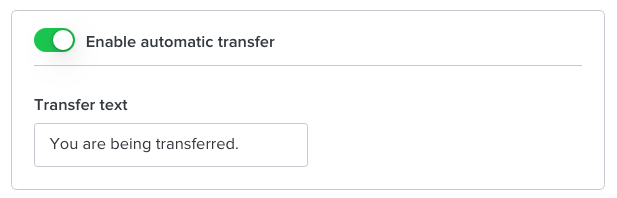
#### **Toggle parameter**
Usage in the dev platform
Result in the marketplace
#### **Select picker parameter**
Usage in the dev platform

Result in the marketplace

Note: To retrieve the options of the selectpicker, we will call the endpoint:
**Request - GET method**
| Query parameter | Description | Values |
| --------------- | ------------------------------------------------------------------------------ | ----------------- |
| idWebsite | Unique identifier of the website on which your connector is being installed on | ?idWebsite=ha-123 |
**Response - Array of options (must NOT be empty)**
```json
[
{
"label": "I am transferring you to my colleague",
"value": "direct_transfer"
},
{
"label": "Wait a moment, I am transferring you.",
"value": "wait_a_moment"
},
{
"label": "My colleague is going to take over this conversation, bye !",
"value": "colleague_take_over"
}
]
```
| Field | Description | Values | Required |
| ----- | ---------------------------------------- | ------ | -------- |
| label | The displayed label in the select picker | String | ✓ |
| value | The value of the option | String | ✓ |
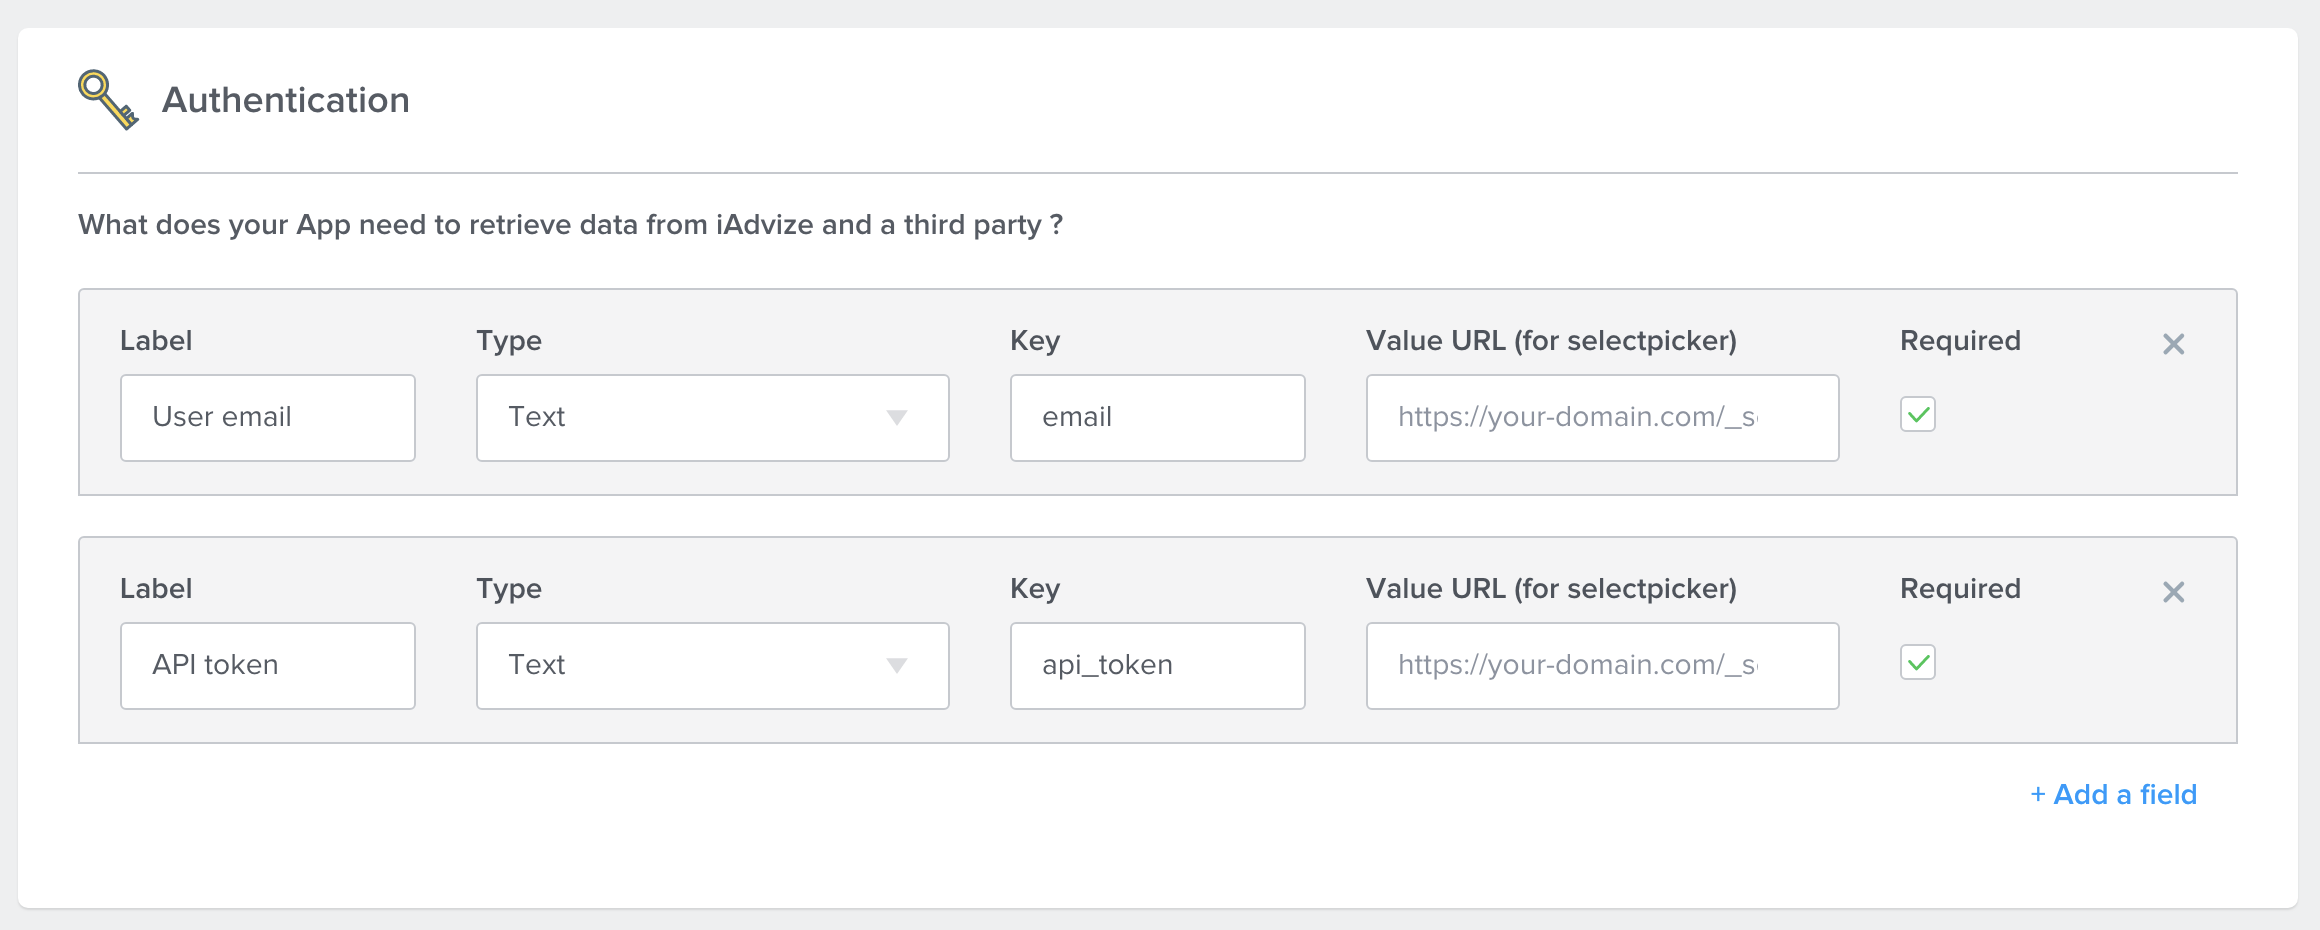
## 1. Define Authentication parameters
The App Authentication section is where you can set the authentication information that the final user will have to enter in order to install your connector. Once the user is authenticated, the connector will be able to access the right data from iAdvize and from the third-party app. For example, you can ask the user for his/her third app's email and password. Users will need to follow these authentication steps to install your app.
You can add parameters and define the type of entry you need (text, numeric, etc.).
You can add as much parameters as you need. This is the first thing users will see once they click on the "install" button on the iAdvize Marketplace. Parameters appear to users according to their order of creation (the 1st entry created is the 1st on displayed on the page).
*i.e. if your primary goal is to know your users’ usernames, it is the first information you should ask them for.*
*i.e. users might be required to authenticate with an email and a password. In this case, you need to create two different parameters, one for the email and one for the password.*
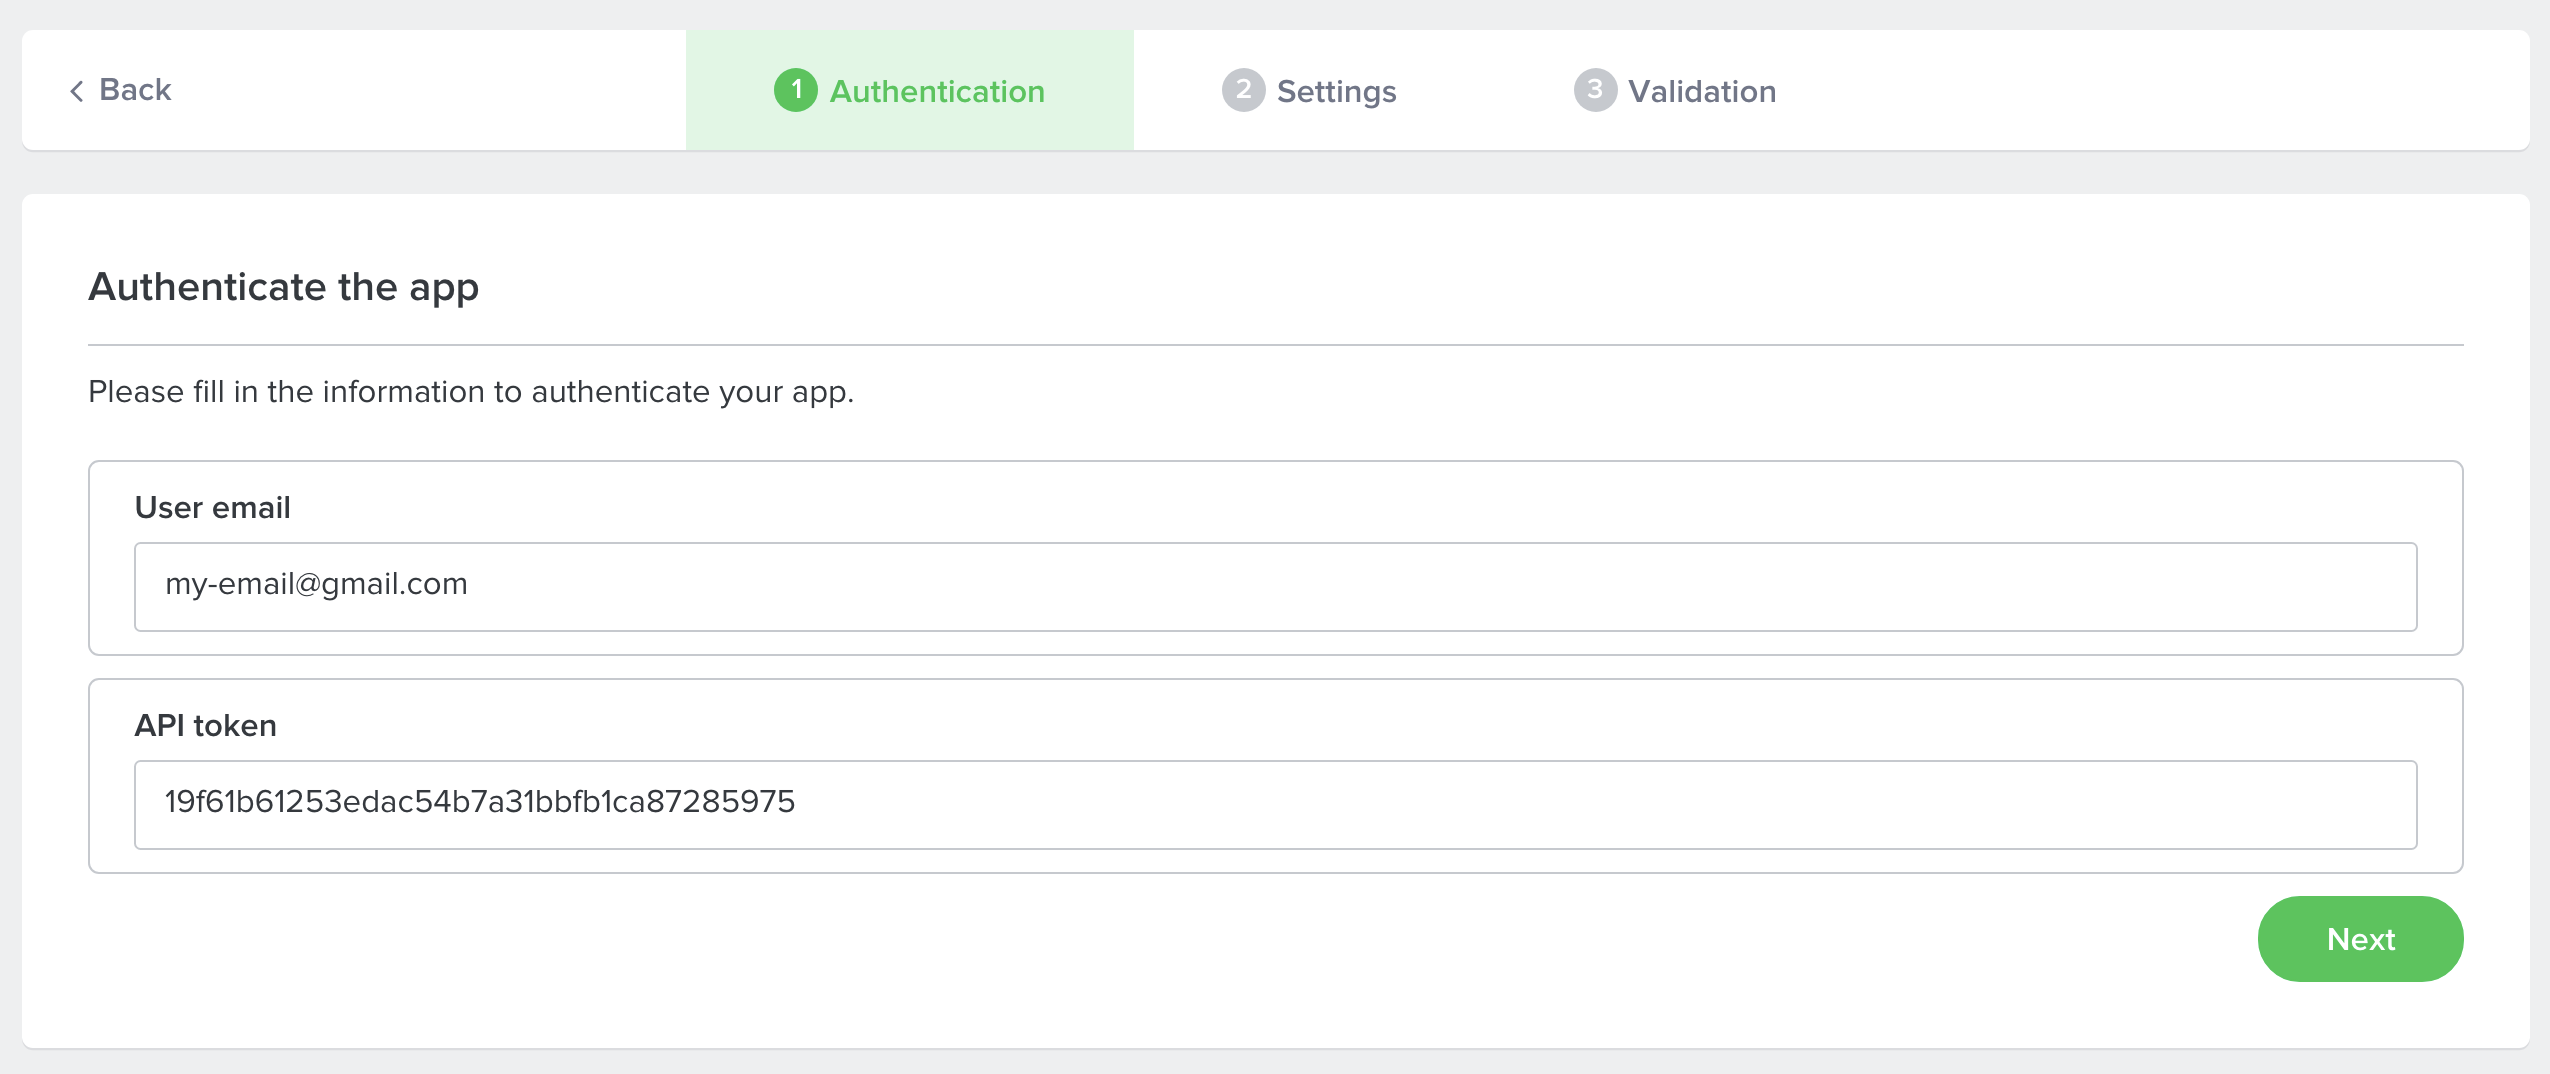
Users have to fill in the parameters during the installation process first, on the iAdvize Marketplace.
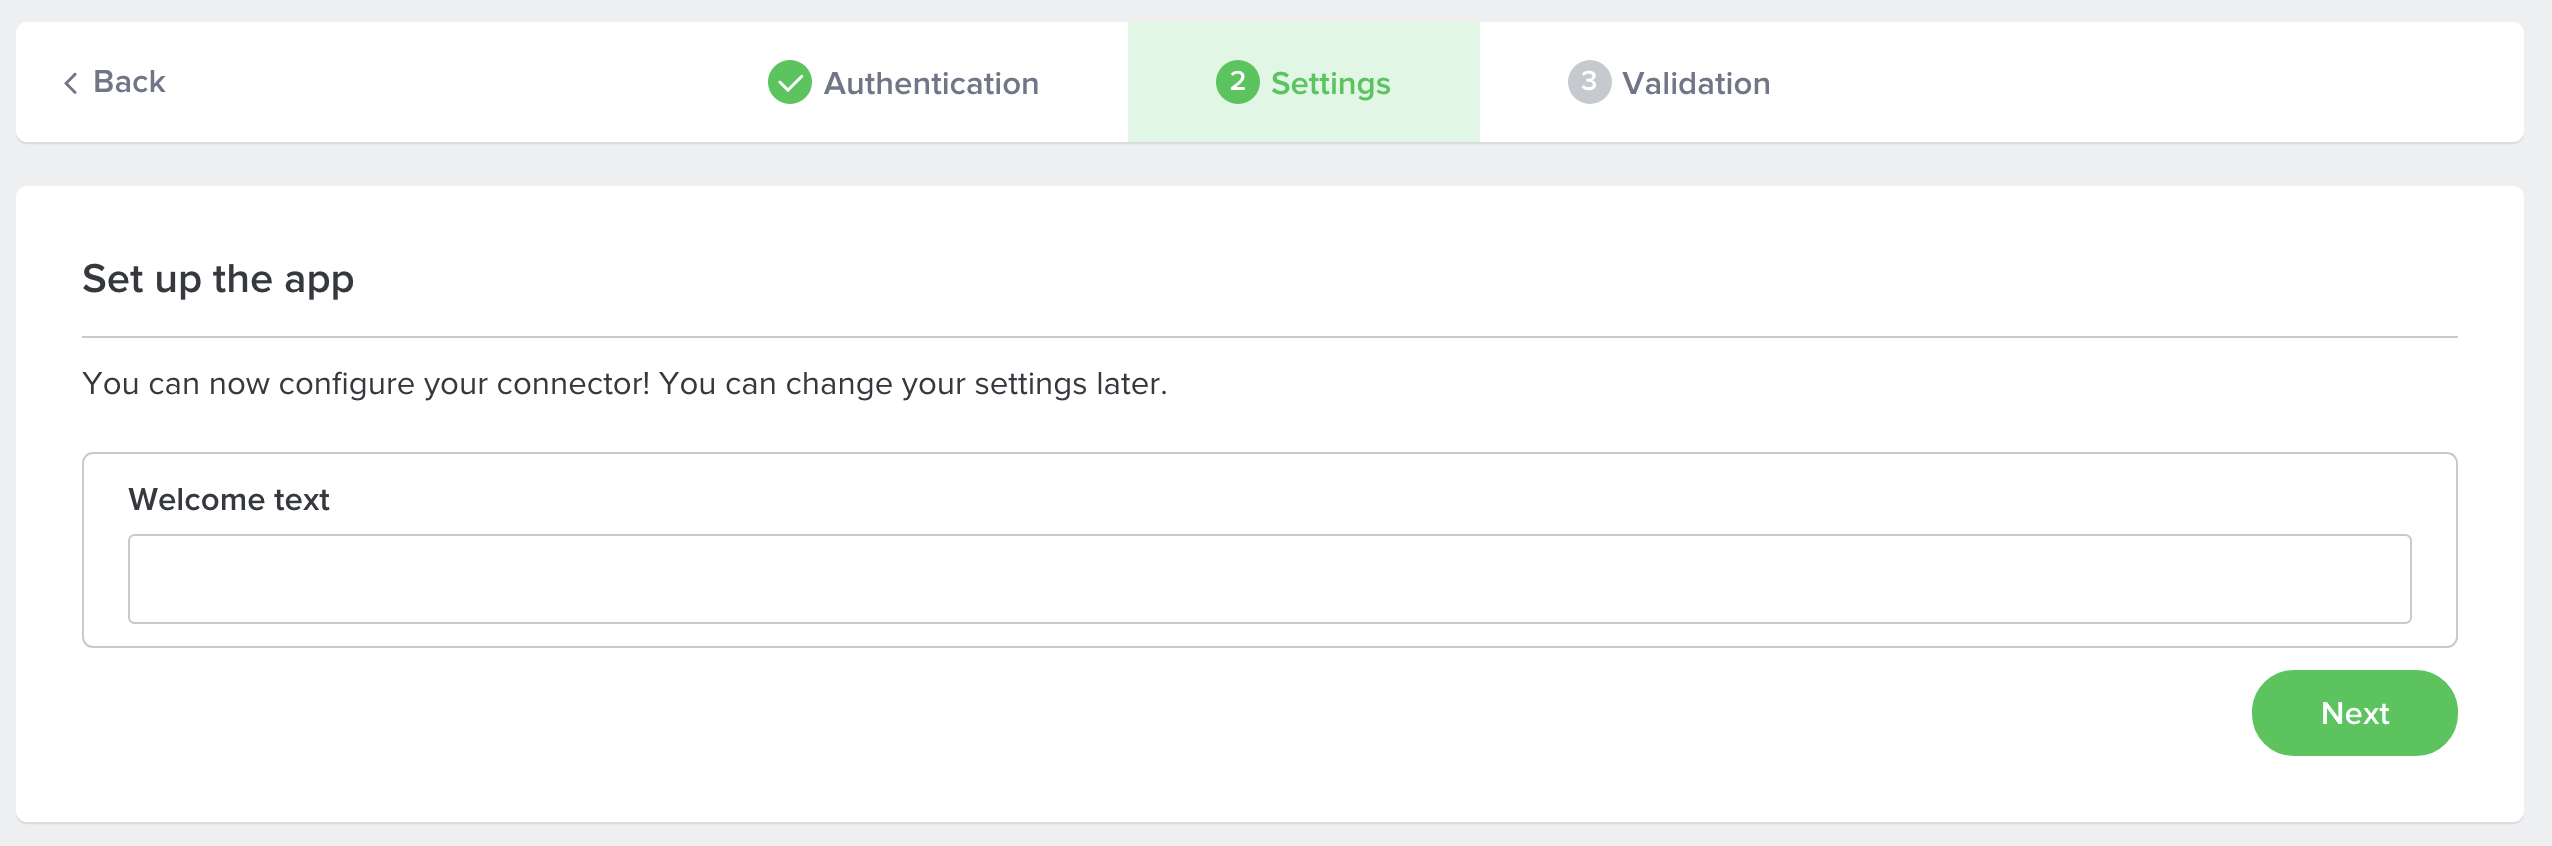
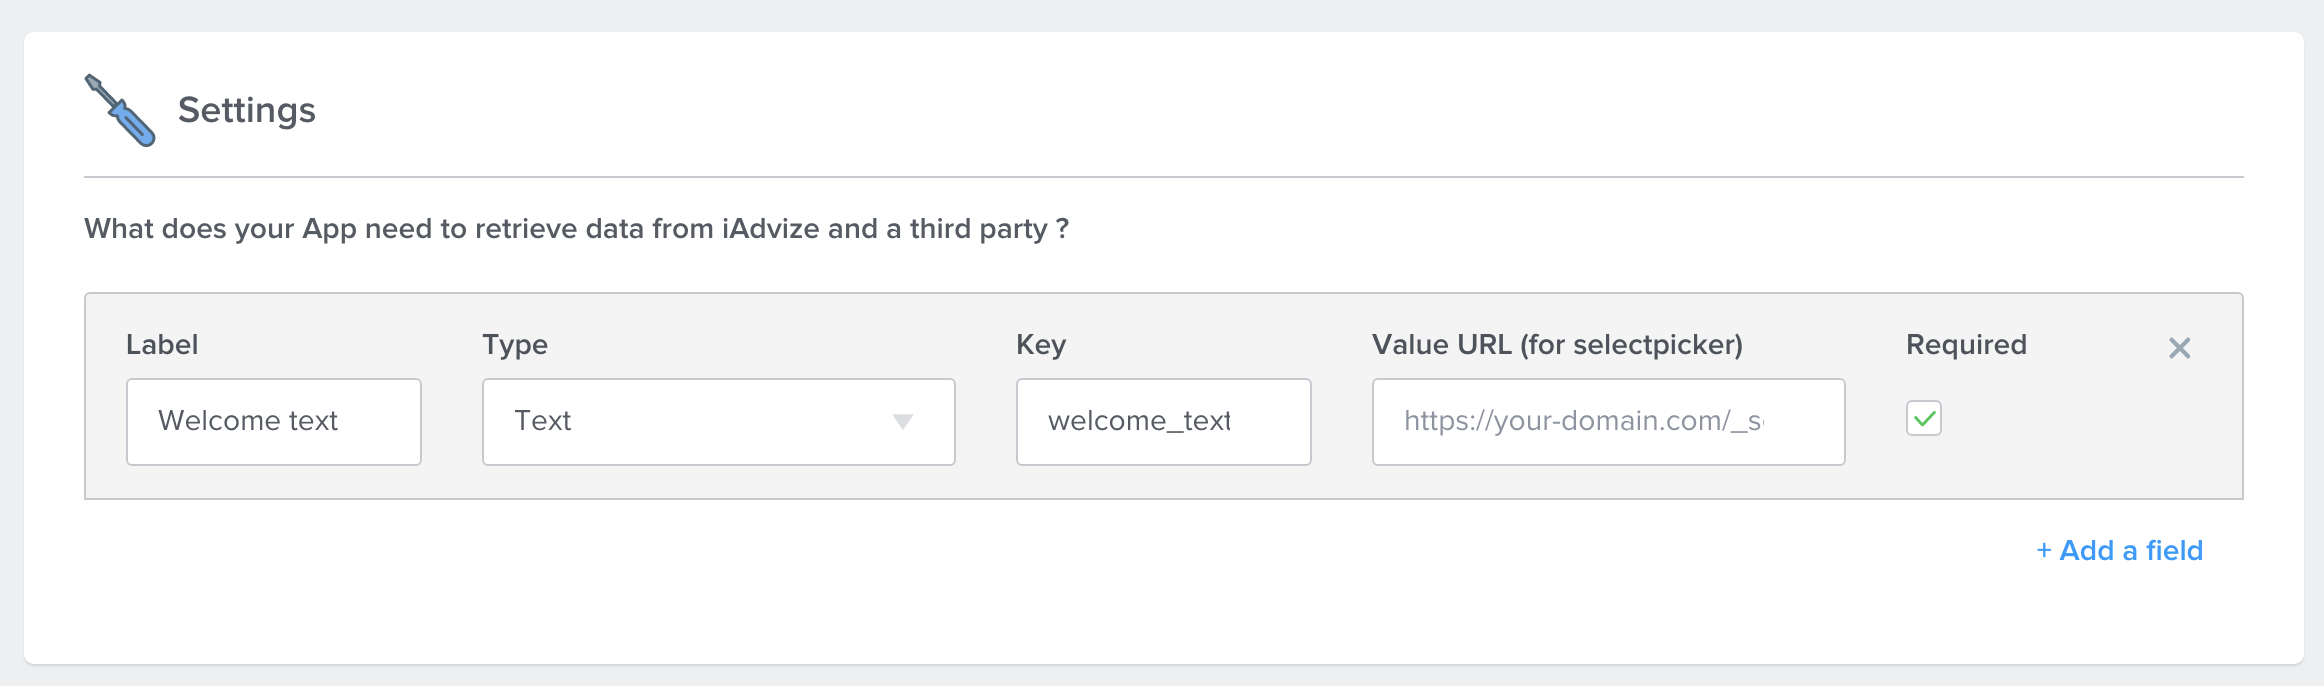
## 2. Define App Settings parameters
Just as in the section dedicated to your app's authentication, you are able to set the parameters that users will need to install your connector. These are the parameters that the iAdvize administrator will fill in to install and configure your connector from the iAdvize Marketplace.
Define your app's settings parameters
You can add as many parameters as the installation and configuration of your application requires. For each of these parameters you will have to specify the type of input required.
*Label: it is the name of your parameter. (This is what the users will see). For instance it could be: Username* Type: it defines the type of entry. (For instance: alphanumeric) \*ID: the identifier (key) of your parameter according to your code.
These configuration steps will take place immediately after authentication (if any). The order of appearance of the steps depends on their order of creation. The first created parameter will appear first and the last created parameter will appear last to the user.
Users have to fill in the parameters during the installation process first, on the iAdvize Marketplace.